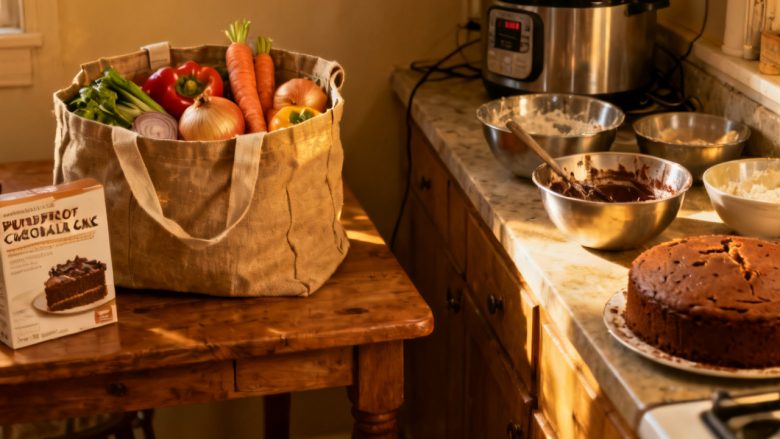
You yank open the fridge at 6:17 PM, grabbing the half-stick of salted butter you stashed after last week’s toast run, and glance at the 9-inch round pan sitting on the counter, already greased with the last dregs of that same butter. Your sweet craving hit ten minutes ago, and you don’t want to run to the store for anything, so this cake only uses stuff you already have in the pantry and fridge.
Mix the dry base first
You grab a single large mixing bowl, no need for multiple bowls or a sifter, since this recipe is built to cut down on cleanup and fussy steps for new bakers. Dump 1 and a half cups of all-purpose flour, a third of a cup of regular unsweetened cocoa powder, 1 cup of granulated sugar, 1 teaspoon of baking soda, and half a teaspoon of fine sea salt straight into the bowl. Stir the dry mix with a regular dinner fork for 30 full seconds, breaking up any small clumps of cocoa or baking soda as you go, to make sure everything is evenly distributed. You don’t need to sift anything, even if you’ve seen other recipes call for that; the quick stir is enough to prevent lumps in the final batter, and you won’t end up with a gritty texture. This step is also forgiving if you swap the granulated sugar for light brown sugar if that’s what you have on hand, it will just add a subtle caramel note to the final cake.
Whisk in wet ingredients until smooth
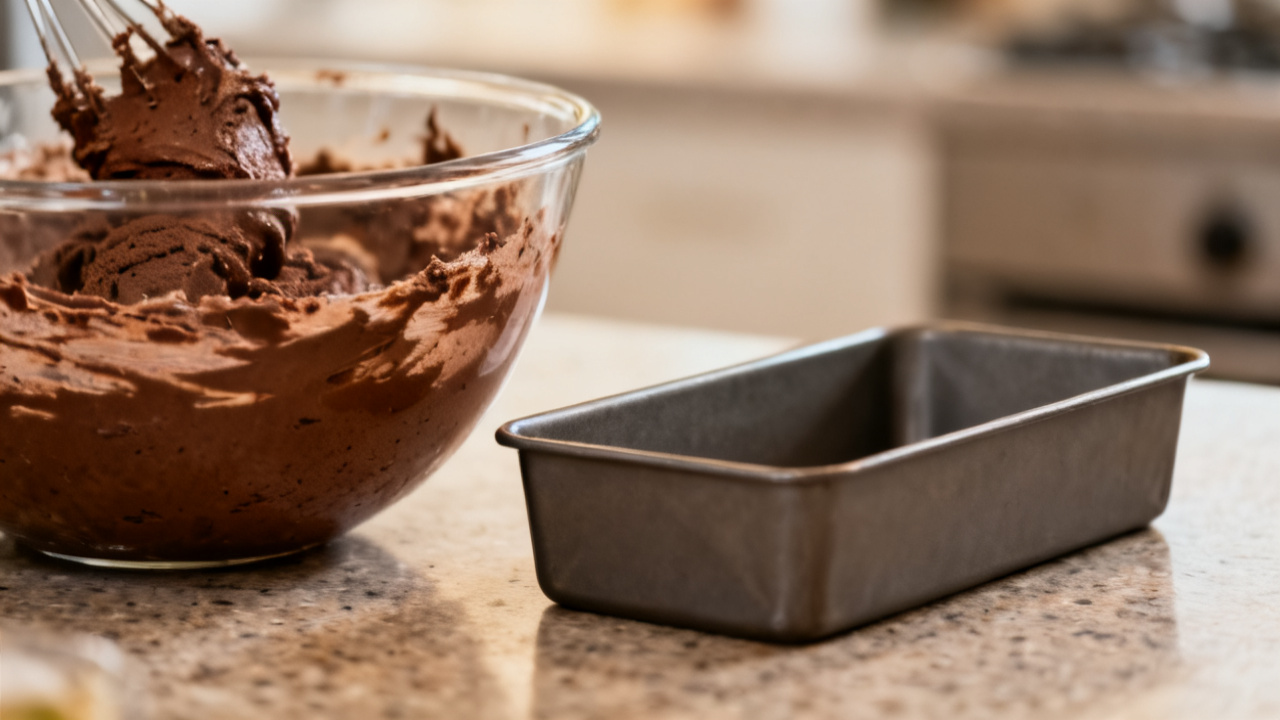
Melt the quarter cup of salted butter in the microwave in 30 second bursts, checking after each burst to make sure you don’t burn it; it only takes about 45 seconds total to get fully melted butter with no solid chunks left. Pour the melted butter straight into the dry mix, then add 1 tablespoon of plain white vinegar, 1 teaspoon of vanilla extract, and 1 cup of cold tap water. Grab a whisk and mix the batter for 45 seconds, stopping as soon as you no longer see any dry streaks of flour or cocoa at the bottom of the bowl. Don’t overmix the batter, since that will develop the gluten in the flour and make the final cake tough instead of tender. The batter will be thinner than you might expect from other cake recipes, that’s completely normal, so don’t add extra flour to thicken it. You also don’t need any eggs for this recipe, which cuts down on cost and means you don’t have to worry about accidentally curdling anything while you mix.
Exact ingredient and timing breakdown for this cake
The table below outlines every component you use for this exact cake, plus quick timing notes to keep you on track so you’re eating a warm slice in under 50 minutes total.
| Component | Measurement | Prep/Cook Time Note |
|---|---|---|
| Dry ingredients (flour, cocoa, sugar, baking soda, salt) | 1 ½ c AP flour, ⅓ c unsweetened cocoa, 1 c granulated sugar, 1 tsp baking soda, ½ tsp fine sea salt | 2 minutes to combine fully with a fork |
| Wet ingredients (butter, vinegar, vanilla, cold water) | ¼ c melted salted butter, 1 tbsp white vinegar, 1 tsp vanilla extract, 1 c cold water | 3 minutes to melt butter and whisk into dry mix |
| Bake cycle | N/A | 30 to 32 minutes at 350°F, no convection fan |
| Cool down + optional topping | N/A | 10 minutes to cool in pan, 5 additional minutes to add your preferred topping |
Illustrative example: If you had to purchase every single ingredient for this cake from scratch at a standard grocery store, the total cost comes to $8.25, and it yields 8 thick, rich slices.
Bake and cool before adding a quick topping
You preheated your oven to 350°F while you mixed the batter, so it’s already at the right temperature when you pour the thin batter straight into the greased 9-inch pan. You don’t need to line the pan with parchment paper if you greased it well, but you can add a small circle of parchment to the bottom if you want to make absolutely sure the cake doesn’t stick when you flip it out. Slide the pan onto the middle rack of the oven, set a timer for 30 minutes, and use the wait time to clean up the single mixing bowl and whisk you used, so you have no messy dishes left when the cake is done. When the timer goes off, test the cake for doneness by sticking a wooden toothpick or a small knife into the center; if it comes out with a few moist crumbs attached (not wet, runny batter), it’s done. If it’s still wet, put it back in for 2 more minutes, checking again after that to avoid overbaking, which will make the cake dry and crumbly. Let the cake cool in the pan for 10 minutes before you do anything else; this lets the structure set so it doesn’t fall apart when you cut into it. You can flip it onto a plate if you want to add a topping to the flat top, or you can leave it in the pan and cut slices straight from there, no judgment either way. Quick topping options include the leftover cream cheese spread from your bagel breakfast, a handful of melted chocolate chips drizzled over the top, a light dusting of powdered sugar, or a scoop of vanilla ice cream on top of a warm slice. This is exactly the kind of low-lift, pantry-first bake that works for random weeknight cravings, no fancy trip to a specialty baking store required, which is why it’s a staple in the Weeknight Pantry rotation.
Adjust this cake for your next impromptu dessert night
Next time you reach for this recipe when a chocolate craving hits, you can tweak it to match whatever extra ingredients you have on hand, no extra planning required. If you have a half bag of semi-sweet chocolate chips left over from last month’s cookie bake, toss a half cup into the batter before you pour it into the pan for melty, gooey pockets of chocolate scattered throughout the cake. If you love peanut butter, swirl 2 tablespoons of creamy peanut butter into the top of the batter with a knife before you slide it into the oven, for a rich, salty-sweet contrast to the deep chocolate flavor. If you want to amp up the chocolate taste without adding extra sugar, swap half the cold water for cold brewed coffee; the coffee amplifies the natural richness of the cocoa without making the cake taste like coffee at all, even people who don’t like coffee will notice the deeper chocolate flavor. If you’re baking for someone who follows a vegan diet, swap the melted butter for melted unrefined coconut oil, it works exactly the same and gives the cake a subtle, nutty background note that pairs perfectly with chocolate. If you want individual portions to grab for quick snacks during the work week, pour the batter into a lined muffin tin and bake for 18 minutes instead of 30, for single-serve chocolate muffins that stay moist for 3 days stored in an airtight container. You don’t have to make any of these changes if you loved how the cake turned out tonight, the base recipe is reliable enough to make exactly as written every single time you want a quick, no-fuss chocolate dessert.